A before and after…

A while ago I bought this metal plate at a thrift shop and had the idea to make a concrete frame/wreath from it. I haven’t really been able to find out what the story is that is depicted on the plate, but I really enjoyed the scene portrayed despite that. 🙂

Here is the result:

Candleholders and Saltcrystals

fullsizerender

I tried something new this week and it was kind of a fun thing to do….and cheap. Want to try it? Get a plain glasscontainer and add about 1/4″ of salt and then add water, just enough to moisten the salt.

Put the glasscontainer in a warm spot. Depending how warm it is it might take up to a week until the saltcrystals have formed all the way up! I put one jar in front of the fireplace  (but not to close) and it litereally grew about 1 1/2″ in a day! If the jar is not covered in crystals all the way up and nothing seems to happen, add a bit more salt and water and let sit…and grow.

img_9103

Do you like the look of the glass? If you are tired of it just soak the glass and wash it off. Have fun with it.

Driftwood Christmastrees

Since I have collected driftwood for a long time now, I decided to finally make something with some of it! Tom cut out the plywood trees for me (thanks Tooom;-) after I drew the triangles onto the plywood with a marker (so we would not end up with a miscommunication🙄 you know) about the size I wanted the cut outs and he let them through the saw for me. You can make them pretty much whatever size you wish! dsc03365

The plywood I used here is about 1/4″ thick. Next I searched for the straightest pieces of Driftwood that I had; in all the sizes I needed. It’s best to first lay the pices onto the cut-out plywood until it is all covered to the top. I always let the driftwood overlap about an inch over the wood on each side; so the plywood would not show. Now you can use a good, heavy duty  wood glue or a gluegun to glue each piece of driftwood down. If you wish you can paint your tree(s) but I like them just the way they are! You could apply a hook to the back if you want to hang them onto the wall instead of having them just lean against something…  So now; next time you go to the beach in the summer (or at least when there is no snow on the ground) you have a purpose to bring lots and lots of driftwood home :-). Make sure you wash it thoroughly and let it dry before you store it so it does not turn moldy on you should you keep it in a air tight container😚.

img_6543
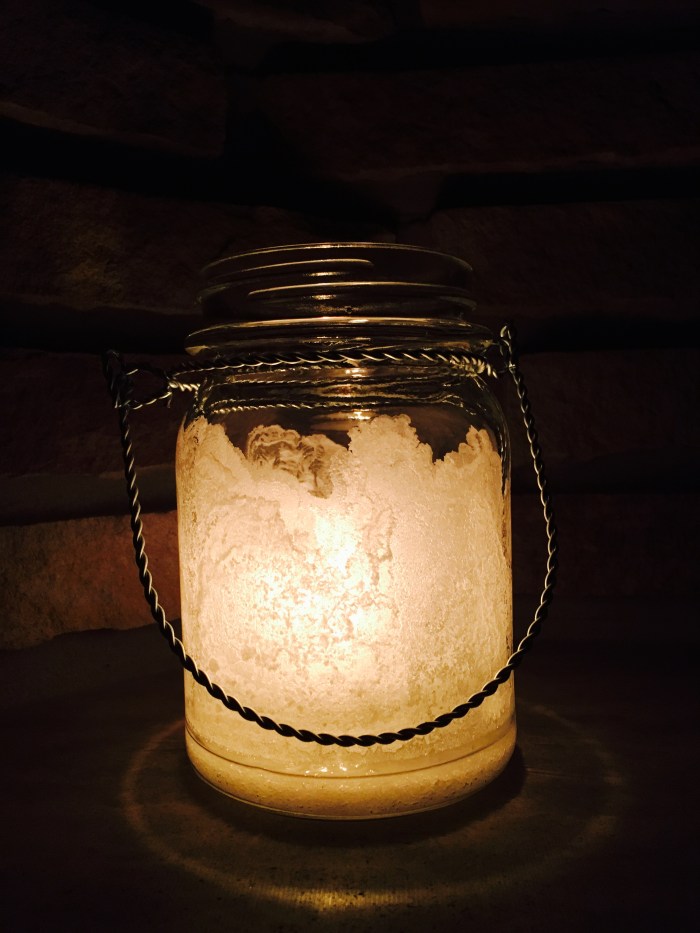
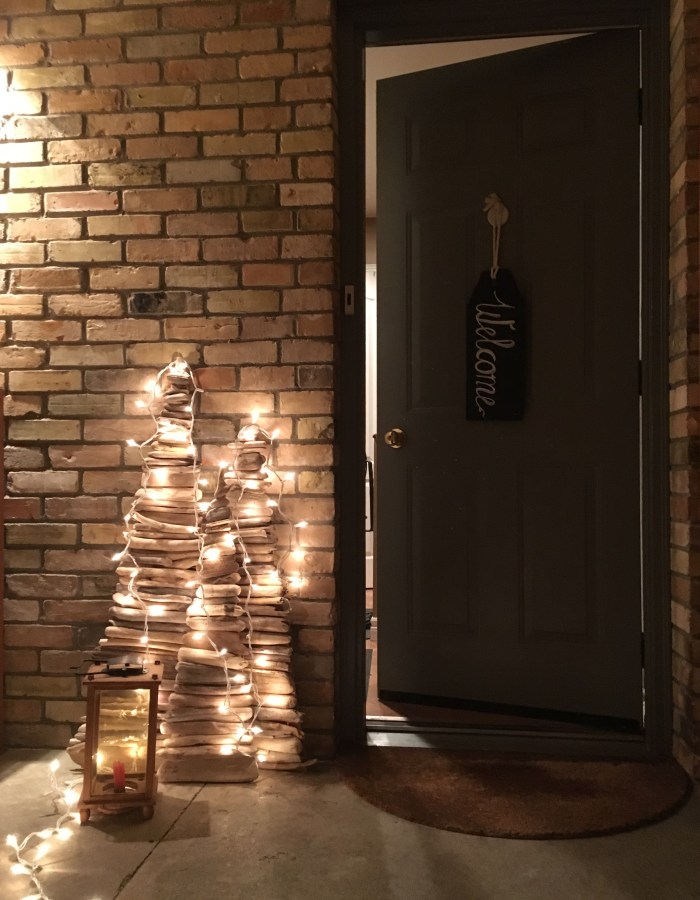
Do you like my decor? 🙂
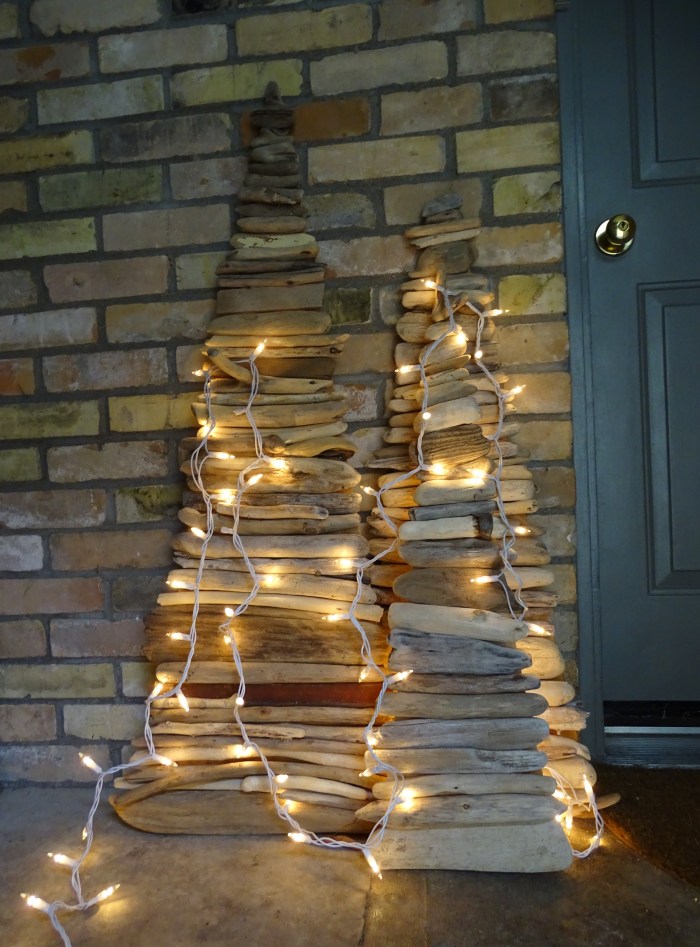
Advent

Happy 1st of Advent! I always make some kind of Advent decoration for the table. This a bit different than usual. It is not a wreath with greenery and red candles! It also took me longer to gather the materials than to actually make my take on the Advent-wreath, ha! I got some hay at the barn and placed some of it into a flat tray. (I like to use trays as I can easely move it around and put it somewhere else when we eat). Then I added some of my cement candleholders that I made recently; with white candles in it. I love little angels and so this one got to lay in my tray :-). You might have something else around that you would like to place in your tray? Maybe some small trinkets or even some items that you might have hanging in your Christmas tree? Lastly I used some paper stars that I have cut out of an old book (I can not just watch TV; I always have to do something while I do that!). I used some copper thread on my sewing machine and sewed them into a garland, leaving about 3-4″ of thread between paperstars.Voila! If you have any questions about this; as always, just ask!

fullsizeoutput_34ffullsizeoutput_350fullsizeoutput_355fullsizeoutput_34edsc03389

Fall Crafts…

p1080025


As I drove down the side road the other day  I noticed all those -wild- apple trees just loaded with small apples, some of them are crab apples I believe. This is where the idea came from to turn some of those apples  into a wreath and use them to decorate around the entrance to our house. Maybe you’ll go for a walk or a drive this weekend also? They are free and who does not like free? ;-). After they don’t look so good anymore I’ll take them off the wire and they’ll end up in the compost!

All you need is a strong wire (you decide how large the wreath will be) and some pliers. It will take you 10 minutes max! Bend one end of the wire into a loop and with the other side you start “threading” the apples by poking through the sides of each apple and coming out the opposite side. Keep going until the wreath is almost full; join the two ends of the wire and bend into a second loop with the pliers, voila! As always if you  have a question about this; please ask.


Sedum wreath…

My garden is full of beautiful Sedum  and as I am kind of on “call” today on the farm and have to stay put, I started this project outside on the porch on this gorgeous day! It did not take much time to finish at all; maybe 1/2 hour! All you need is:

  • Some Sedum (3-4 big heads)
  • Wire (that won’t rust)
  • Pliers
  • Scissors
  • Twine

You start by making a loop with your wire and join the ends. (You decide how big or how small your wreath will be). Next you snip 2-3 handfuls of small Sedum florets  Tie your twine  securely onto the wire and start wrapping 2-3 florets stems at the time. Wrap tightly. Keep going until you are all around the whole wire ring! Knot the string tightly and snip it off. Now place your wreath in a dish with some water and enjoy it for a while…..wreath1a

Ups…and some twine…

twine


img_6072

Find a nice plate,  add some water and place your wreath in it… and maybe a candle or something else?


img_6062wreathinplate


wreathhanging

As always; if anything is unclear or you have a question just drop me a line….

Happy Sunday!

Temporary Decoupage anyone?

Should you happen to have some old windows around, like the ones in my pictures, great. If not, you can still do this on any window (or mirror)  in the house also! We are -temporary decoupaging-!

This is what you’ll need:

  • Some fancy paper napkins of your choice
  • scissors
  • small brush for water (makes ripping the napkin easier)
  •  larger brush (like your baking brush for the “decoupage”-part)
  • egg white (straight from the egg, not whipped)

Steps:

Cut out your flowers, bunnies  or whatever floats your boat. Or like me, I like it a bit more rustic, follow along  with a small brush and some water where you want to rip the napkin. This way you can just ‘pull’ away with some pointy scissors on a flat surface (hope that makes sense)? It’s just this way you can control easier where you rip the napkin.

Next you toss the 2 back layers of the napkin as you will just use the top layer only.

Now you place the top layer on the backside of your decorative window (or front, doesn’t matter as long as it does not get wet from rain etc.) and “glue” with the egg-white-soaked brush. Start in the middle and gently work your way out. You now can place your project on its spot. It will dry nicely and odorless! If you are tired of it and want to use a different napkin for Thanksgiving or Christmas for example; soak it with a sponge for a minute or two and wash your windows and start over. If you have questions just ask.

Paper Bunnies

Today I have a little project for you since Easter will be here soon! I was sorting through a pile of old books I knew nobody here would want because they were written in German. I made myself a little template out of cardboard and traced the bunnies onto some pages (usually I cut through 3 pages at once). Since I don’t like to watch TV “empty handed” this was a nice little project to do on the side. Once you have a few ready,


dust off your sewing machine and tread it with some colored or white tread. Set the stitch to -4- (you want a larger stitch) and sew them together, always stop after each paper bunny, lift the foot and pull a few inches before you add the next paper bunny (see picture).


P1040970

After you reached the desired length, leave an extra few inches and tie a large pearl, a small piece of driftwood or even a large button at the very bottom for some weight. This way the bunnies hang down pretty straight and if there is a bit of a draft in the house they don’t fly all over the place.

If you don’t have a sewing machine and want the kids involved, you can also -sandwich- two bunnies at the time between a piece of twine. That was fun and even  a bit “sturdier”.


Like my little bunnies…